Whenever you decide to play around with your device is a good idea to make a backup; would suggest to use the Backup and recovery option from your phone or use Kies to do the backup from the PC.
After that is important to understand what you are going to do, so especially if this is your first time would suggest spending some time reading the instructions below carefully, even look on other sources and only then start the process.
Before installing a custom firmware
To be able to install a custom ROM first is needed to change your Recovery, to ClockworkMod Recovery (CWM), which will allow you to backup and restore ROMs from your SD card.
To be able to install ClockworkMod Recovery your phone must be rooted, so this is the normal order of the actions you need to do:
- Root your phone (for this step, will not insist too much, can read this older post I written How to root any android device-beginers guide )
- Install ClockworkMod Recovery
- Install the custom firmware
Install ClockworkMod Recovery
There are 2 methods I normally recommend to do this:
- using Rom Manager, a Play Store application that allows you to install ClockworkMod Recovery (CWM), but you need to have your phone already rooted. If your phone is not rooted already can root it using the tutorial mentioned above or can try the next method that does both root + CWM install, if available for your phone
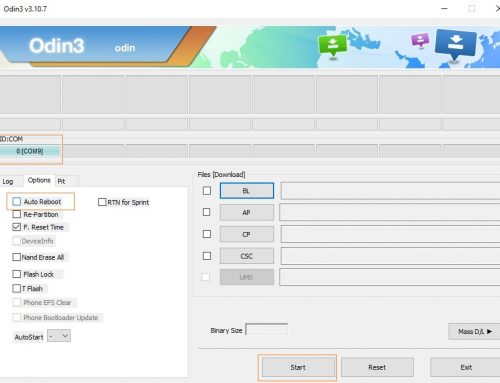
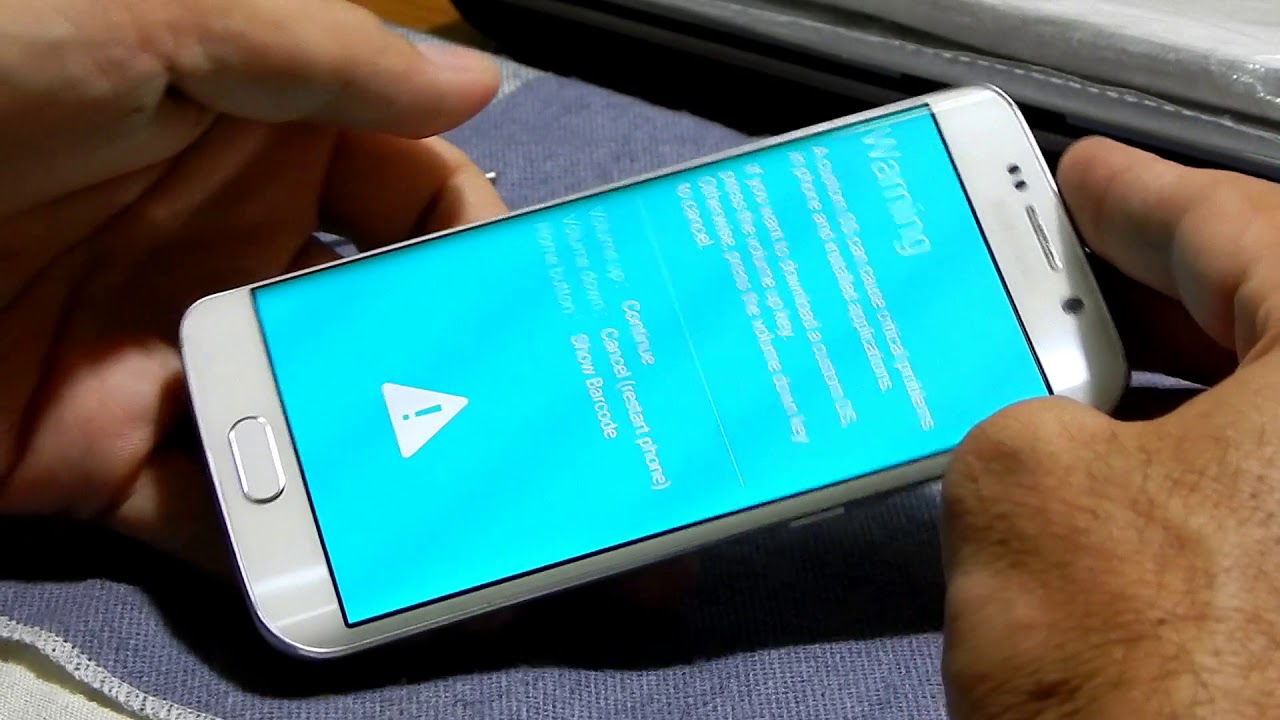
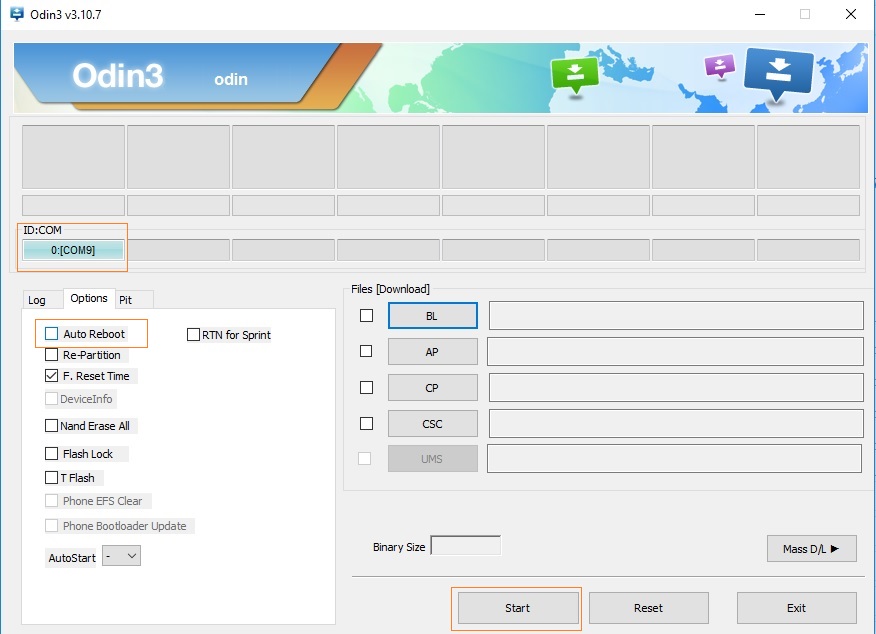
- flash a custom kernel that has incorporated CWM.This is working very well for Galaxy S series, using the CF Auto Root. This is done by downloading the package that contains both the CF- Auto Root and Odin from Here (Select the one for your device). Extract the file downloaded, open Odin and for PDA select the included .tar file. Now all you have to do is put your phone in Download Mode (normally by holding Vol Down+Home+Power) and click Start, and in less than one in the phone should be rooted and have CWM installed.
I recommend it is your first time to look for a more elaborate tutorial to do this, or contact us for more details if do not understand something.
After installing ClockworkMod make a backup of your current firmware, using the “backup and restore option”
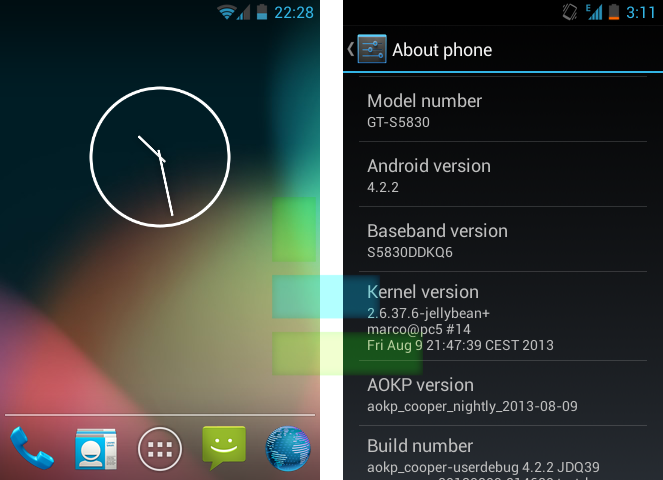
Install the custom firmware
Before installing the custom firmware will have to decide what custom firmware you need to install; would recommend trying a stable version from a team with experience like CyanogenMod, but can search on Google or on XDA-developers.com forums for a ROM, you consider proper for you.
Once you are decided on the firmware are 2 ways for flashing almost any custom firmware
- using Rom Manager or other similar Play store application like GooManager. With this applications, you can even download the ROM, but if your phone internet is not the best can just download it from your pc and transfer it to your SD card.After the ROM is on your SD card, from Rom Manager or if you want directly from CWM Recovery (Can get in CWM Recovery by holding Vol Up+Home+Power for most phones) can begin the custom firmware flash.To move around CWM use Vol Up/Vol Down and select (by using Power button or Home button)“Wipe data/factory reset”, then “wipe cache partition” and then go to “advanced” and select “Wipe dalvik cache”. This will delete all your data, so is important to have a backup. Then select “Install zip from sd card” and then “chose zip from sd card” and select the custom ROM you downloaded or transferred. After you select it and agree to flash wait until will receive a message that the flash is over and has completed successfully. To be sure everything will work just fine after is completed the firmware flash, do a )“Wipe data/factory reset” and after that can just reboot system and enjoy your new custom firmware
- Even though would strongly recommend the first method, can also flash a custom firmware using Odin, like shown in this tutorial for stock firmware, just need to use .tar custom firmware downloaded from the internet: https://www.onlineunlocks.com/blog/unroot-guide/
Hope this tutorial will help you when choosing to change to a custom firmware and provide you with the steps you need to take to do this process safely and fast.
If you haven’t understood something or need an advice specific to your device, do not hesitate to contact us or leave a comment on this article.
